$10.30 USD


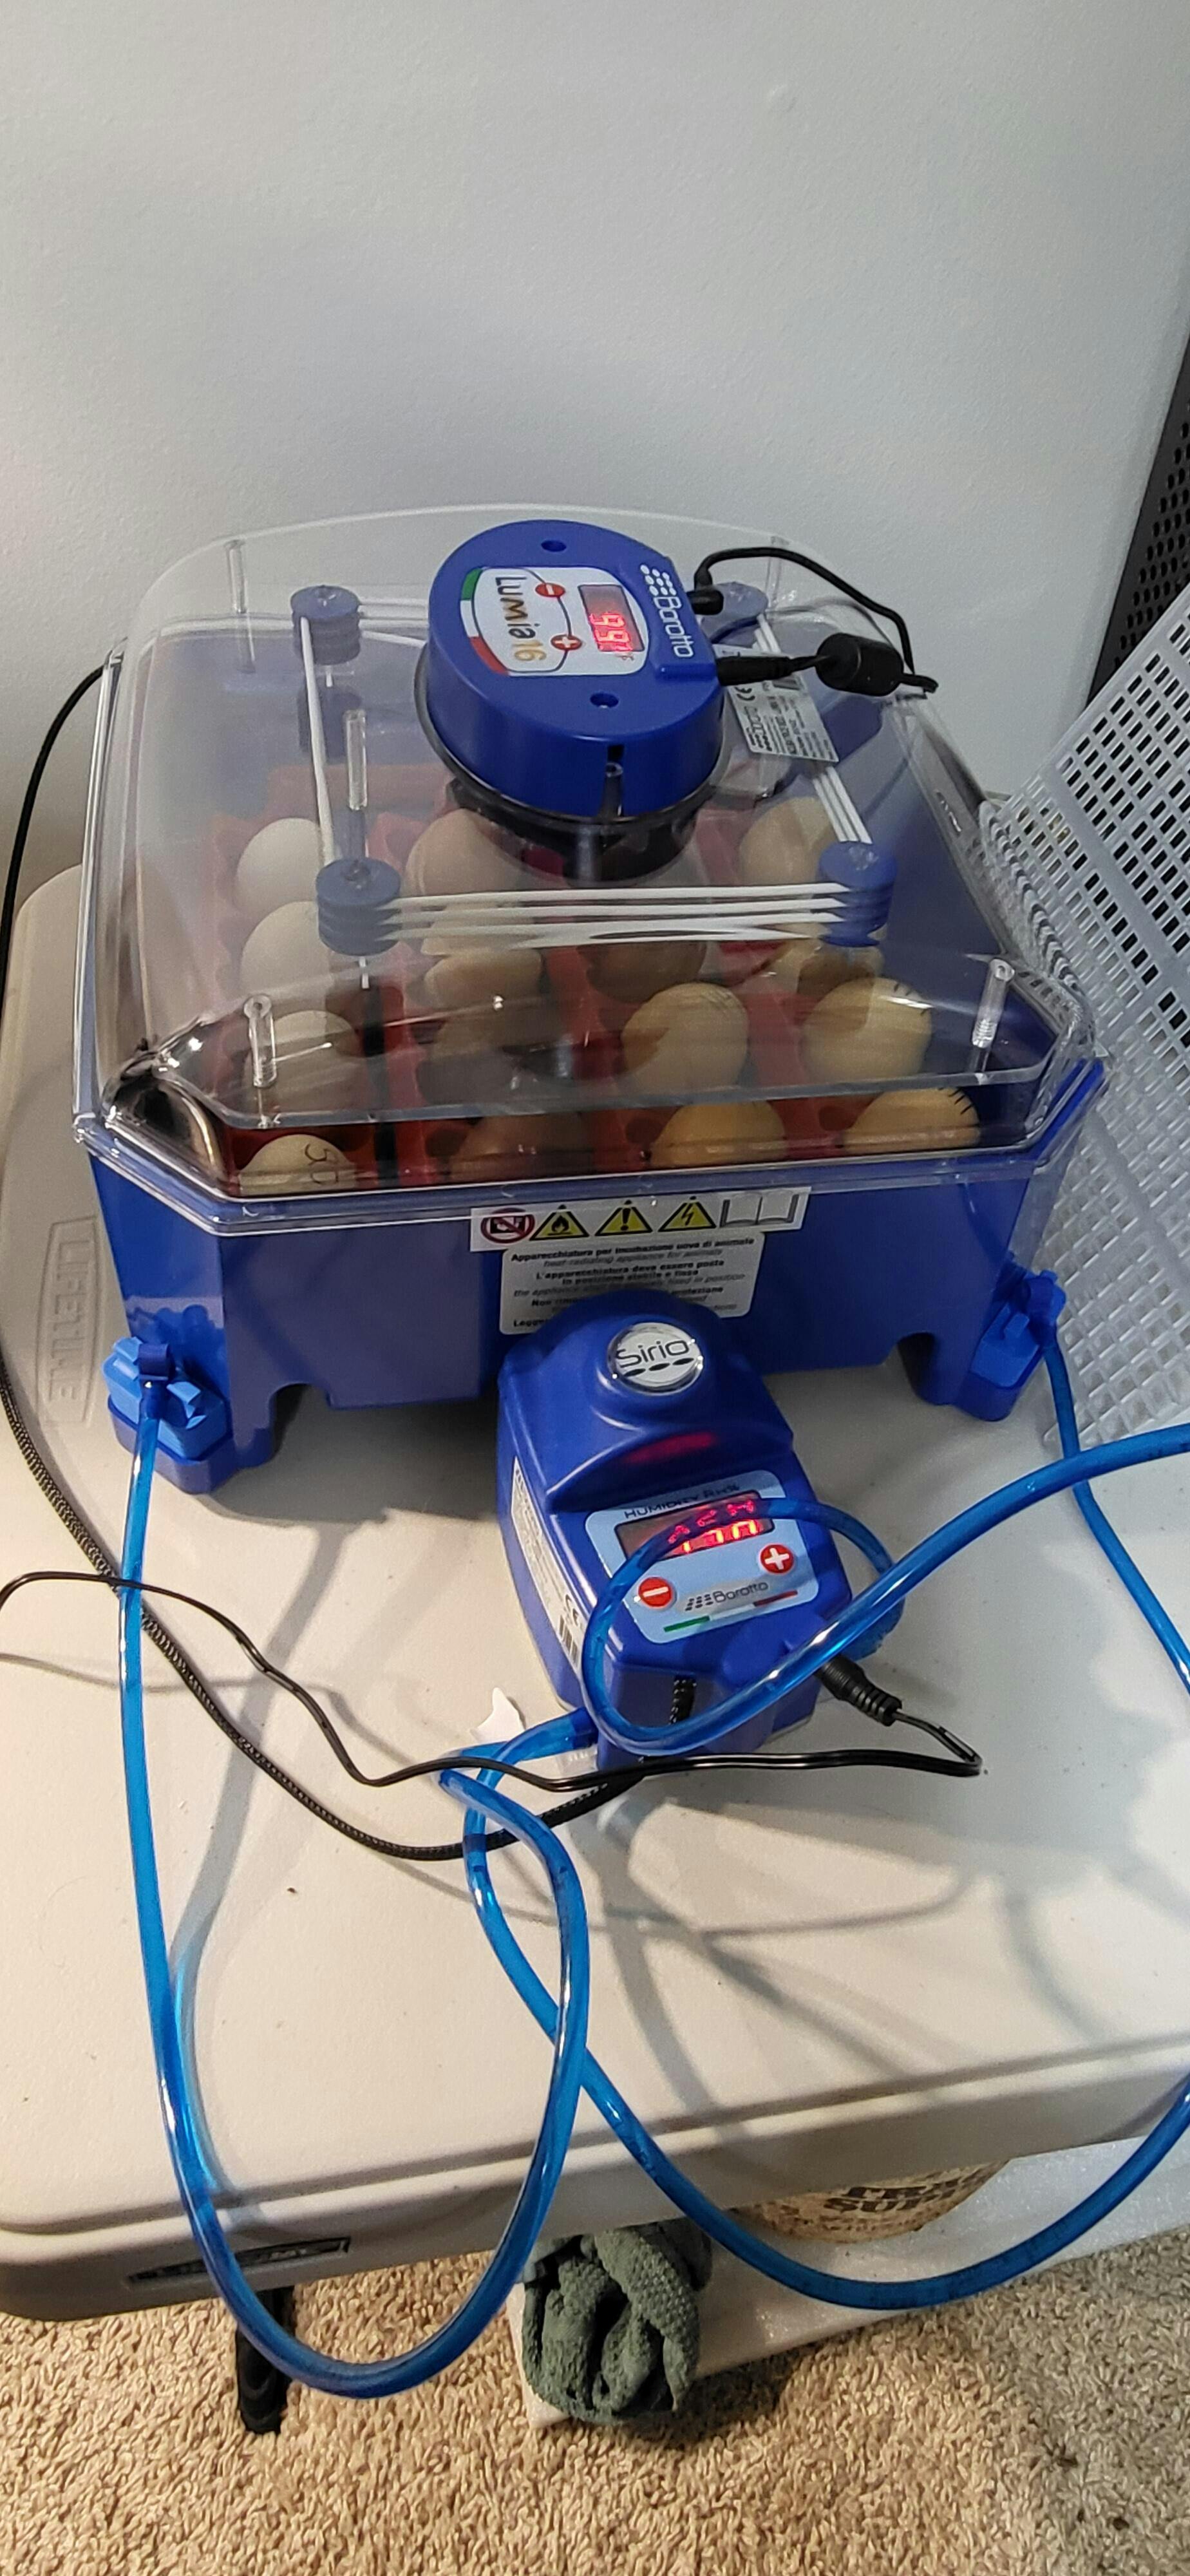
Clean, simple, and built to hatch. The Borotto® Lumia 16 uses antimicrobial plastic to help keep your hatch environment sanitary, while a digital temperature control (86–104°F) and built-in, hourly egg turner handle the day-to-day. When it’s time to hatch, move eggs from the turner to the included tray and watch the show—no wrestling with clunky add-ons. Designed and made in Italy, backed by a 2-year manufacturer warranty, this unit keeps the focus where it belongs: steady conditions and healthy chicks.
First-time hatchers who want reliability without a learning curve, small-flock keepers and classrooms managing modest sets, and preservation nerds (hi, that’s us) running careful, small-batch hatches.
Capacity: up to 16 chicken, duck, or pheasant eggs; up to 64 quail eggs
Compatibility: certain goose, turkey, or peafowl eggs can be incubated; very large eggs won’t fit in the turner
Temperature: digital display and control, 86–104°F set range
Turning: automatic—motor gently rotates eggs every hour
Hatching: move eggs from the turner to the provided hatching tray when due
Construction: antimicrobial plastic housing
Origin & Warranty: Made in Italy; 2-year manufacturer warranty
Humidity: compatible with an optional humidity pump
Place & test: Set the incubator in a draft-free room (65–75°F). Run it empty for 12–24 hours to confirm stable temp.
Set eggs: Pointy end down. Verify your set temperature matches species needs.
Hands off turning: The built-in motor turns eggs hourly—no manual flipping needed (unless you’re incubating oversize eggs outside the turner).
Humidity: Manage per species/day; add water as directed or connect the humidity pump for finer control.
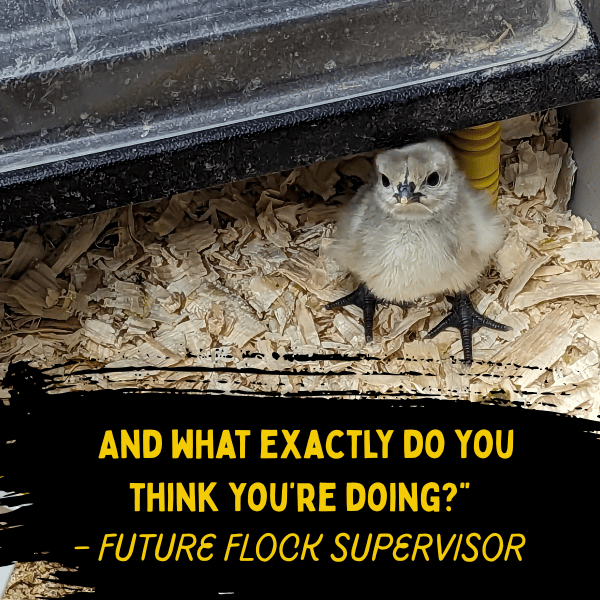
Lockdown: Remove the turner and move eggs to the hatching tray at the appropriate day (e.g., day 18 for chickens). Do not open during pipping/zip unless truly necessary.
After hatch: Let chicks dry off inside; then move to a pre-warmed brooder. Unplug and clean thoroughly before the next set.
Unplug, cool, and wipe interior surfaces with mild soap and warm water; rinse/wipe and air-dry. Avoid abrasives and harsh chemicals that can scratch or leave residues.
Equipment can’t fix bad inputs. Shipped eggs often hatch lower than farm-fresh due to transit stress. Your temperature stability, humidity, sanitation, and restraint (no peeking!) make the biggest difference.
Includes a 2-year manufacturer warranty. Keep your proof of purchase and follow the included instructions for service.
Ships with your farm-supply order. If your cart also includes print-on-demand items, those ship separately.
Clancy Crowed It
“Open the lid during hatch and you just gave shrink-wrap a head start. Set it, watch it,
don’t fuss it.”


 srcset=" //cluckitallfarms.com/cdn/shop/files/borotto-lumia-16-egg-incubator-520342.jpg?v=1746110029&width=200 200w,
//cluckitallfarms.com/cdn/shop/files/borotto-lumia-16-egg-incubator-520342.jpg?v=1746110029&width=400 400w,
//cluckitallfarms.com/cdn/shop/files/borotto-lumia-16-egg-incubator-520342.jpg?v=1746110029&width=600 600w,
//cluckitallfarms.com/cdn/shop/files/borotto-lumia-16-egg-incubator-520342.jpg?v=1746110029&width=800 800w,
//cluckitallfarms.com/cdn/shop/files/borotto-lumia-16-egg-incubator-520342.jpg?v=1746110029&width=1200 1200w,
//cluckitallfarms.com/cdn/shop/files/borotto-lumia-16-egg-incubator-520342.jpg?v=1746110029&width=2000 2000w"
data-aspectratio="800/800"
height="800"
width="800">
>
srcset=" //cluckitallfarms.com/cdn/shop/files/borotto-lumia-16-egg-incubator-520342.jpg?v=1746110029&width=200 200w,
//cluckitallfarms.com/cdn/shop/files/borotto-lumia-16-egg-incubator-520342.jpg?v=1746110029&width=400 400w,
//cluckitallfarms.com/cdn/shop/files/borotto-lumia-16-egg-incubator-520342.jpg?v=1746110029&width=600 600w,
//cluckitallfarms.com/cdn/shop/files/borotto-lumia-16-egg-incubator-520342.jpg?v=1746110029&width=800 800w,
//cluckitallfarms.com/cdn/shop/files/borotto-lumia-16-egg-incubator-520342.jpg?v=1746110029&width=1200 1200w,
//cluckitallfarms.com/cdn/shop/files/borotto-lumia-16-egg-incubator-520342.jpg?v=1746110029&width=2000 2000w"
data-aspectratio="800/800"
height="800"
width="800">
>
 >
>
 >
>
 >
>